Must-Have Creality Ender-3 V2 Modifications
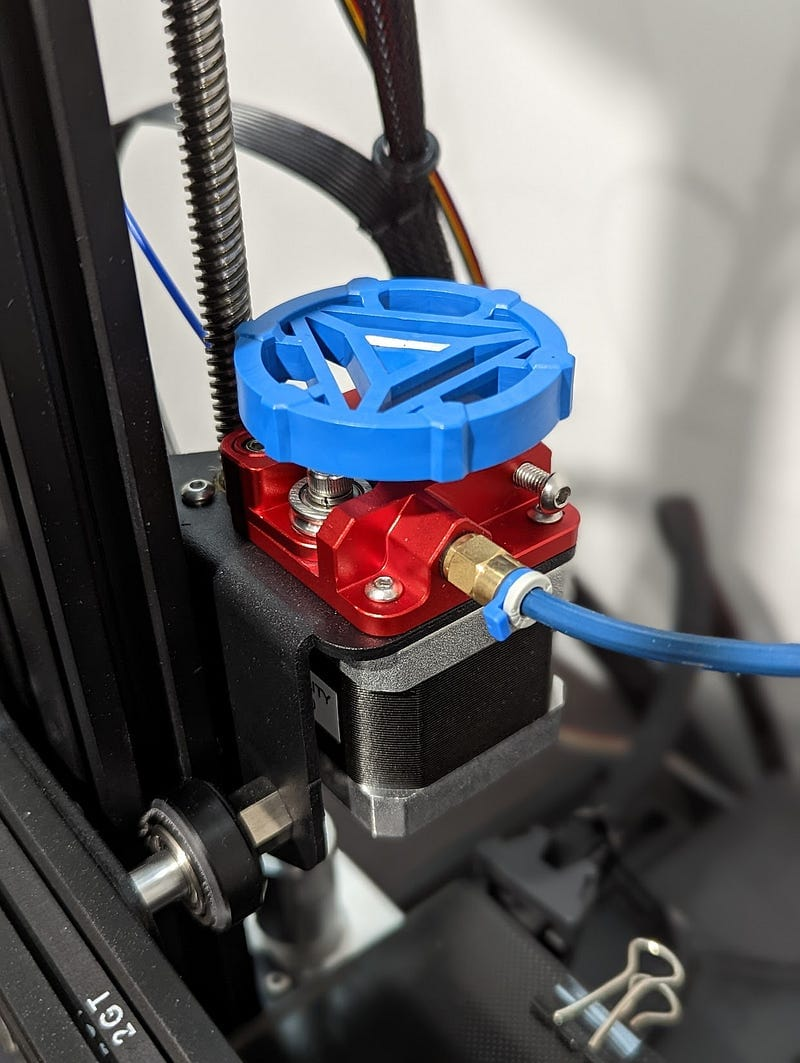
One of the first things I found with the 3D printing community is there is a lot of information on modding the printers with upgraded parts to add function and improve build quality, particularly for the Creality Ender 3 series of printers. While some folks go to extremes with both functional and cosmetic changes, I’ve kept my modding constrained to what I consider the most essential functional upgrades to my Ender-3 V2, for a hobbyist style use, printing mostly with PLA plus some TPU and PETG.
Initial Build
My 3D printing journey started Christmas Day 2021. The neatly wrapped Creality Ender-3 V2 under the tree was no surprise, and I had been doing a lot of pre-reading through blogs, sub-reddits, and watching YouTube videos to be ready to hit the ground running in anticipation of the xmas morning build.
After reading a lot of information articles and posts on the Ender-3 series printers, I identified a few upgrades that I considered must-have for the initial build.
- Metal Bowden Extruder. The plastic one that comes with the printer is prone to breaking.
- Capricorn PTFE Tube. Higher quality bowden tube.
- Yellow Bed Springs. Stiffer springs to replace the default one to reduce bed movement.
These all came in a single kit along with a PTFE tube cutter, and while the specific kit I purchased is no longer available, there’s lots of alternatives on Amazon.
So that was my first build. Within a few hours I was up and running printing my first calibration cube, with some minor hick-ups with bed levelling and figuring out Z-offsets along the way, gouging the nozzle into to print bed on the very first print attempt 😞
Auto Bed Levelling
While I got the hang of manual levelling, adjusting the springs and using the paper method to get the right nozzle distance. I soon began to feel that I was spending more time levelling and re-levelling than actually printing. I had considered getting an auto bed leveller for the initial build. By mid February I decided it was a must-have upgrade. I went with the Creality CR Touch as the metal probe and packaging seems more sturdy than the BLTouch.
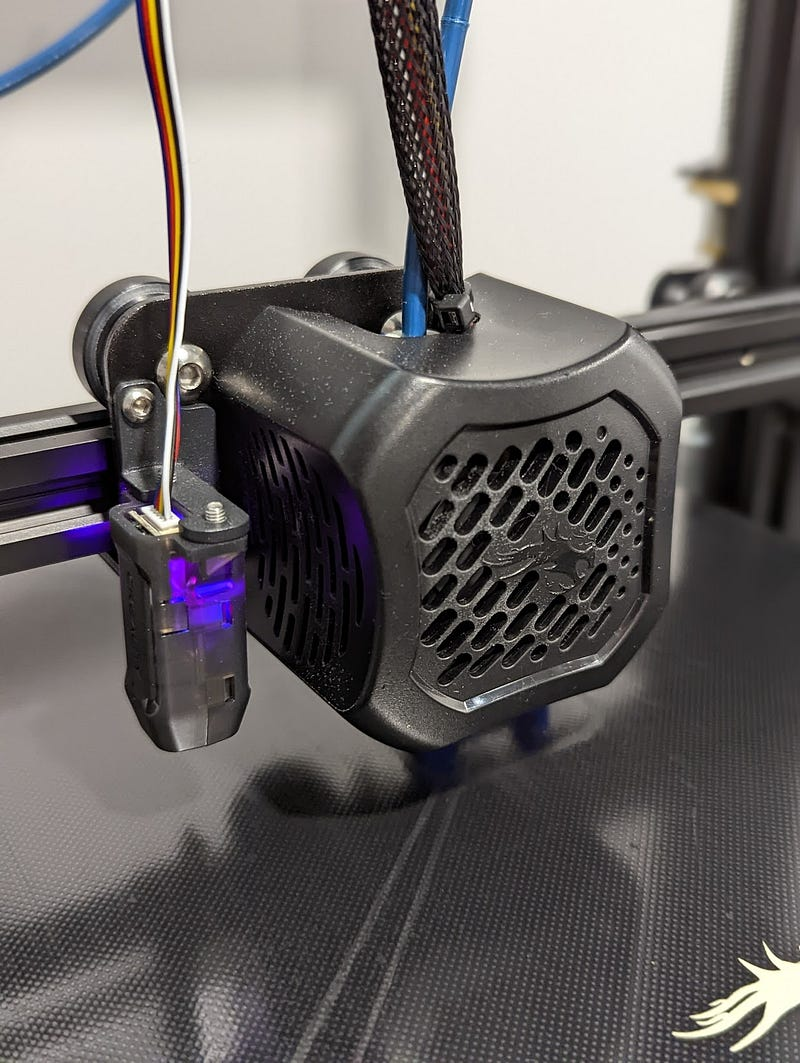
This addition also sent me down the path of looking at alternative firmware. Till now I had been using the default Creality firmware (more about firmware in a future post). With the CR Touch added I settled on switching to the JyersUI Marlin fork with Universal Bed Levelling. Specifically the E3V2-UBL-BLTouch-10x10-v4.2.2-v2.0.1 version for the Ender-3 V2 4.2.2 board with a 10x10 UBL levelling mesh. Be warned the 10x10 takes a long time to probe, the 5x5 version would probably have been perfectly adequate.
Dual Z-axis
It’s debatable whether this is a necessary upgrade or not. I purchased the Dual-Z Axis Kit at the same time as getting the CR Touch, but held off installing it for a while. When I did install it I removed it almost immediately as I wasn’t happy with it. The kit I purchased has the second motor for the right lead screw connected to a splitter cable, so both the left and right axis are driven by the same stepper driver. There are alternative kits that use separate stepper drivers, or use a belt drive to ensure the left and right axis are kept in sync.
I finally revisited the installation, using the same kit, but with the addition of some Anti Backlash Springs on each lead screw, and after doing some more reading on gantry levelling and calibration. A key point worth mentioning is I did not install the 2 lead screw holders that came with the kit. The general consensus in the community is that these parts which hold the top of the lead screw do not help, and can actually cause bending of the lead screw.
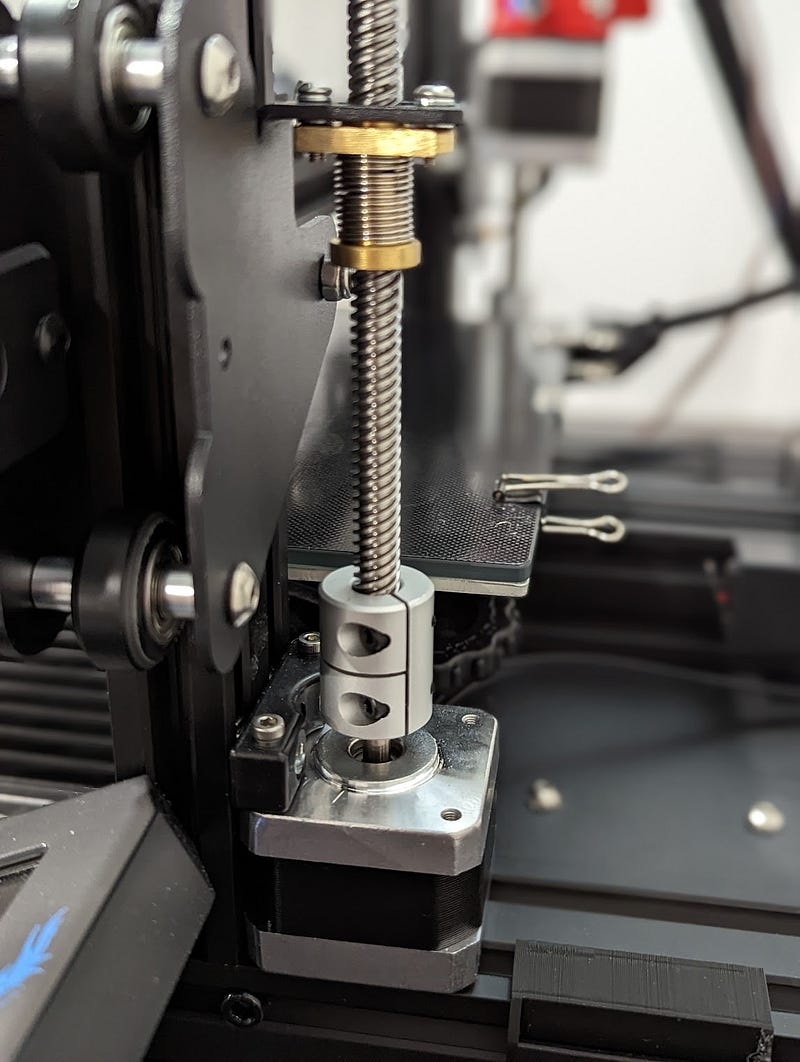
With the Dual Z-axis kit re-installed, with proper calibration and levelling, I’m now extremely pleased with the upgrade. My layers are very consistent, although it could be that the general calibration, tuning, and firmware upgrades have had the biggest impact and not necessarily the addition of the second Z-axis.
Filament guide
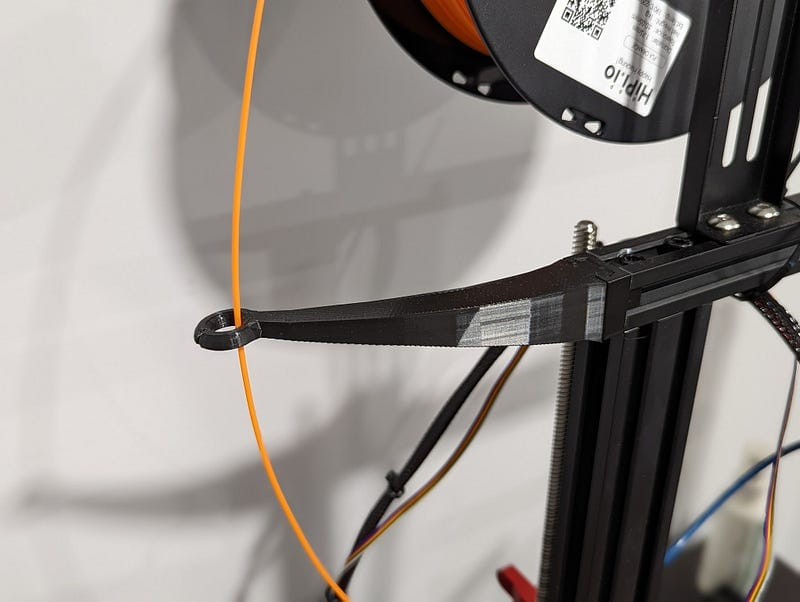
This is a simple self printed upgrade. While I wasn’t having any specific problem with the filament feed, I’ve always felt the extruder input is too close the the lead screw and could potentially snag. There are lots of filament guide designs available — I picked one by Filboyt from Thingiverse that ensures the filament path is pulled to the back inline with the extruder feed.
Filament Roller Teflon Tape Wrap
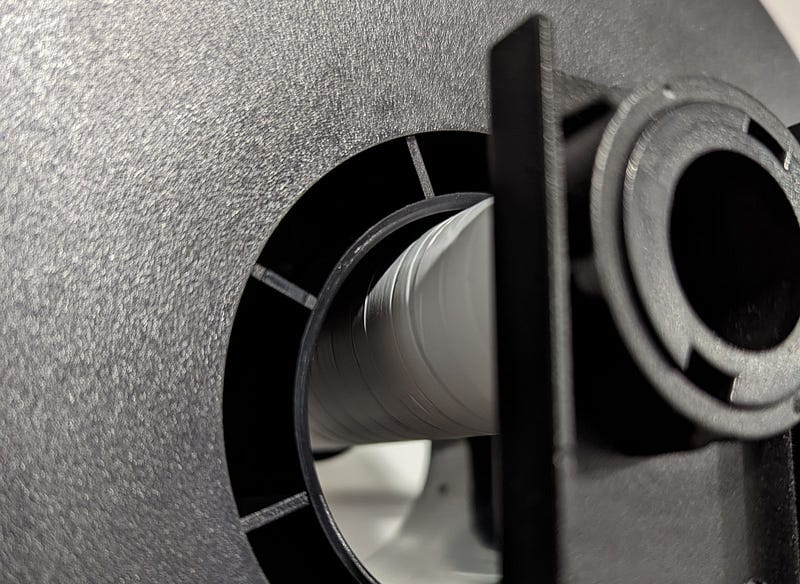
This is an amazingly simple and very effective mod for the filament roller that I read somewhere online. Wrapping the plastic roller tube with teflon plumbing tape significantly reduces the friction, so the filament spool glides smoothly as the extruder pulls filament through. Before adding the tape the spool would rotate in short jerky movements as tension built up in the filament feed.
Build Plate Clips
I almost forgot to mention these, it’s such a common upgrade. The Ender-3 V2 comes with two small clips to attach the glass bed to the metal heat plate. The Creality beds are well known for warping, and the included clips only fix the front and back centres in place. The additional of four Binder clips on the front and back corners help ensure the glass bed is firmly in contact with the bed heater and does not lift up.
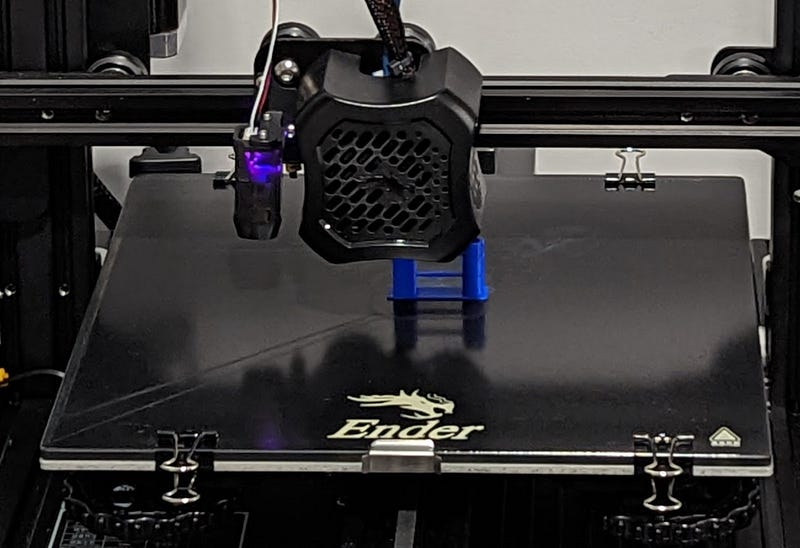
The binder clips do protrude further into the build plate than the regular clips so reduces the printable area. Be careful not the place the clip too close to the front left corner where could obstruct the printer head during homing. I suggest placing the clips in line with the location of the bed screws.