Get started running Oracle Autonomous Database Free Container Image 23ai on Ubuntu 24.04 with Podman

Did you know that Oracle Autonomous Database is available as a free download you can run on your local machine or a self hosted server. To be clear, this is the not the OCI Always Free Tier version of Autonomous Database, but a free (as in beer) downloadable version you can run locally for:
"... developing, testing, prototyping and demonstrating your applications, and running the Programs for your own internal business operations" (refer to the license for full details)
I've been meaning to give the container installation a try for a while to explore incorporating Autonomous Database with some of my self hosted home automation tools. For the following steps I will be installing on an old Dell Optiplex 3050 with an Intel i5-6500 @ 3.6GHz and 8GB of memory, running Ubuntu 23.04.
The following instructions are based on the Oracle documentation for running using podman, modified to work for my setup on Ubuntu 24.04
First lets get podman installed and running
sudo apt install podman qemu-system-x86

podman machine init
podman machine set --cpus 4 --memory 8192
podman machine start
I immediately hit an issue with running podman on Ubuntu.
Error: unable to start host networking: "could not find \"gvproxy\" in one of {[/usr/local/libexec/podman /usr/local/lib/podman /usr/libexec/podman /usr/lib/podman] {<nil>}}. To resolve this error, set the helper_binaries_dir key in the `[engine]` section of containers.conf to the directory containing your helper binaries."To overcome this I found we need to install gvproxy separately, and link to the executable from /usr/libexec/podman
sudo apt install gvproxy

cd /usr/libexec/podman
sudo ln -s ../../bin/gvproxy .
Now we should be able to restart podman successfully
podman machine startNext pull the Autonomous Database Free Container Image from the Oracle container registry.
podman pull container-registry.oracle.com/database/adb-free:latest-23aiAnd now we can start the Autonomous Database with a simple podman run command. Change the ******** below to a suitable admin password.
podman run -d \
-p 1521:1522 \
-p 1522:1522 \
-p 8443:8443 \
-p 27017:27017 \
-e WORKLOAD_TYPE='ATP' \
-e WALLET_PASSWORD='*******' \
-e ADMIN_PASSWORD='*******' \
--cap-add SYS_ADMIN \
--device /dev/fuse \
--name adb-free \
container-registry.oracle.com/database/adb-free:latest-23ai
To check the progress as the container starts up tail the container logs
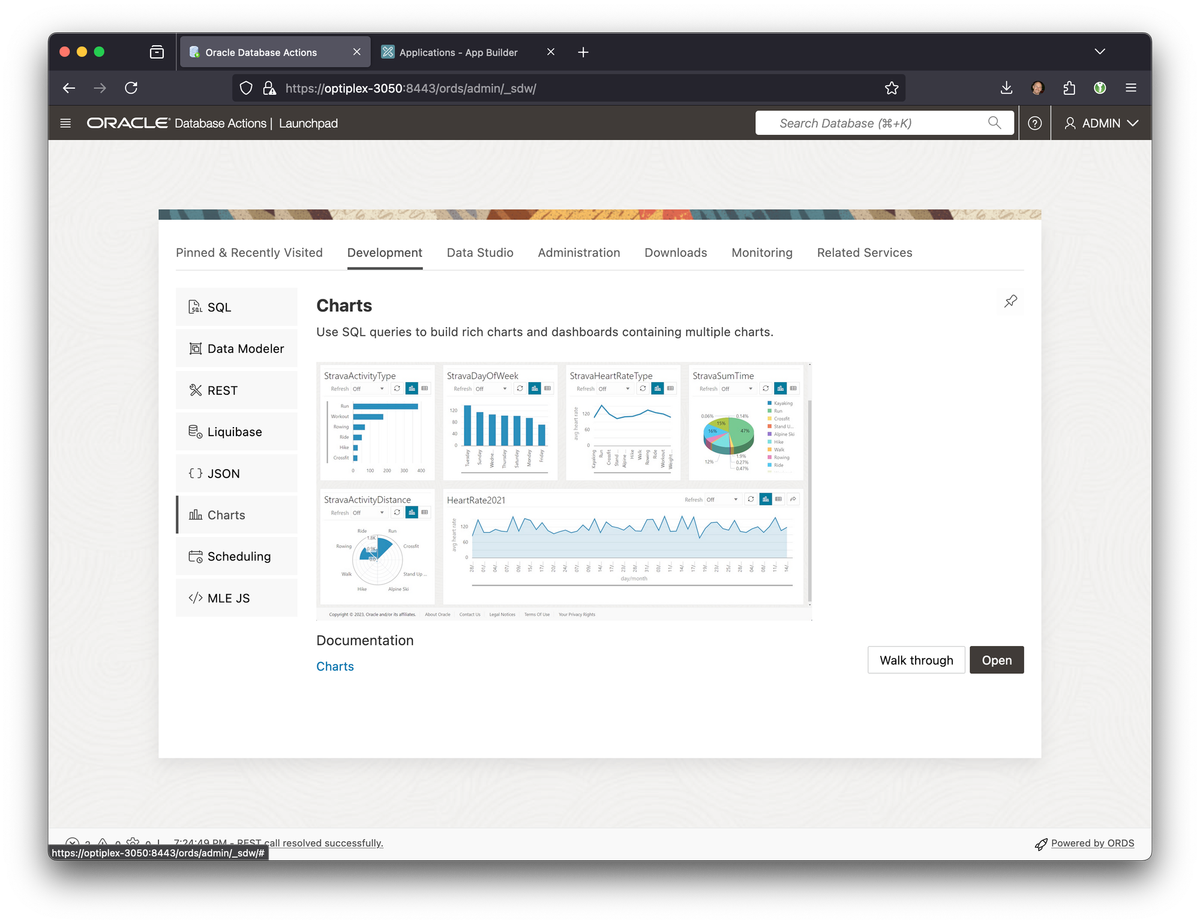
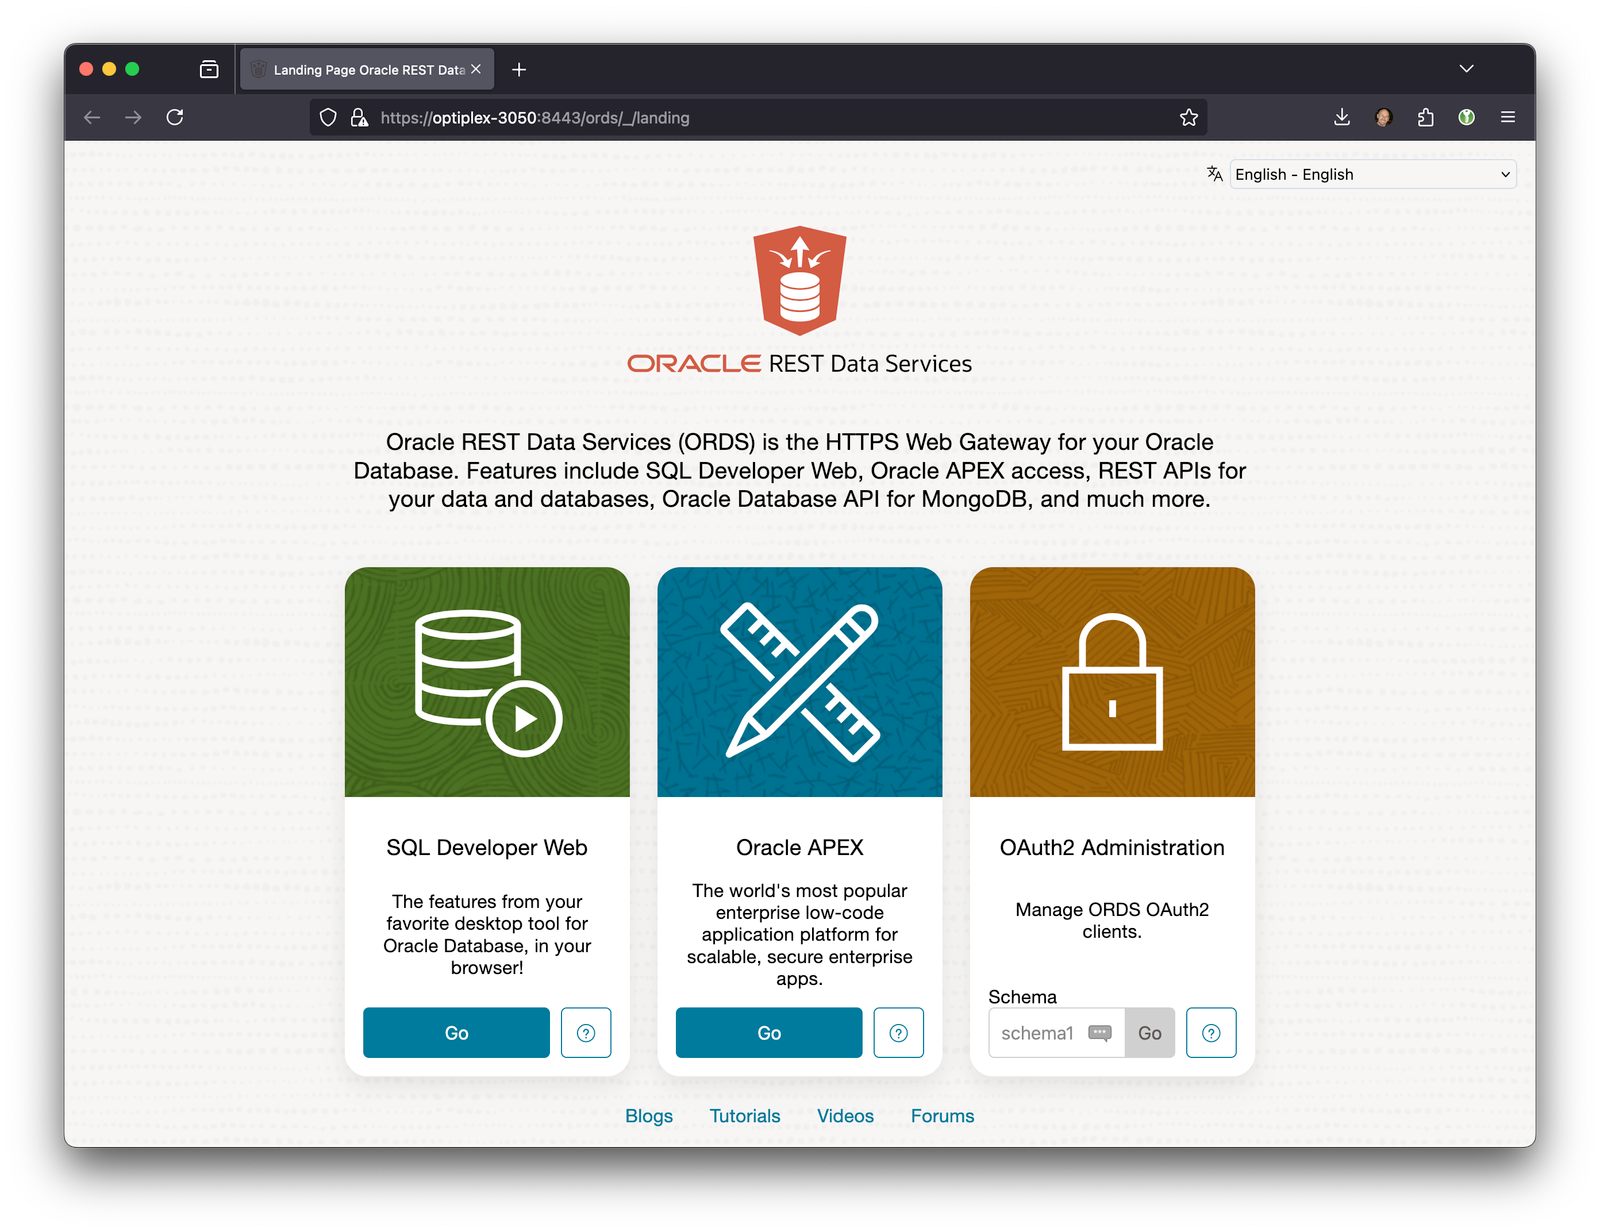
podman logs -f adb-freeThe initial startup can take a some time as the database is configured. Once complete you will be able to access the web console at https://<hostname>:8443/

Using the SQL Developer Web tools is the quickest way to start using the database without any additional setup.
Remote Client Access
For remote client access you will need to get the TLS wallet from the running container. On the host running the database execute:
podman cp adb-free:/u01/app/oracle/wallets/tls_wallet /tmp/tls_walletCopy the wallet files from /tmp/wallet/ to and appropriate location on your client machine, set the TNS_ADMIN path, and update with hostname or IP address of the database host in the tnsnames.ora file.
export TNS_ADMIN=/<path to>/tls_wallet
sed -i 's/localhost/<hostname>/g' $TNS_ADMIN/tnsnames.ora
Use the wallet to connect using your client of choice, for example with sqlcl:
$ sql admin/********@myatp_low_tls

SQLcl: Release 24.2 Production on Sun Sep 29 13:08:37 2024

Copyright (c) 1982, 2024, Oracle.  All rights reserved.

Last Successful login time: Sun Sep 29 2024 13:08:41 -04:00

Connected to:
Oracle Database 23ai Enterprise Edition Release 23.0.0.0.0 - Production
Version 23.4.0.24.05

SQL>
or with Python
import oracledb

tls_wallet = '/<path to>/tls_wallet'

with oracledb.connect(
  user='admin', password='********',
  dsn='myatp_low_tls',
  config_dir=tls_wallet,
  wallet_location=tls_wallet, wallet_password="",
  ) as connection:
    with connection.cursor() as cursor:
      sql = """select sysdate from dual"""
        for r in cursor.execute(sql):
print(r) 